

Screen Shots of CMD
Below is a selection of actual screen shots that show CMD at work.Enter/Modify/Delete Names dialog
This dialog is where most of CMD’s basic data entry, updating, and deleting takes place. The upper 1/3 of the page is where the family information is stored. The lower 2/3s is where the information for the individual family members is stored. The list on the far left side of the individuals area shows the list of family members. When you click on a name in this list, the information about that name is displayed.Contributions Entry Screen
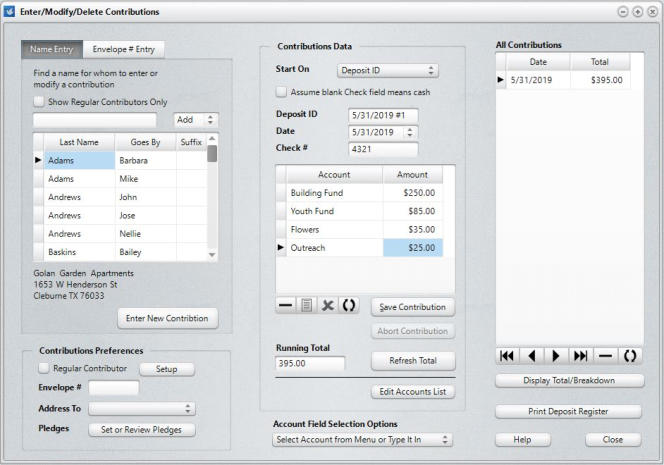
This screen allows you to record donations given by your members and allocate them to specific donation accounts. Donations can be split in as many was as the donor wishes.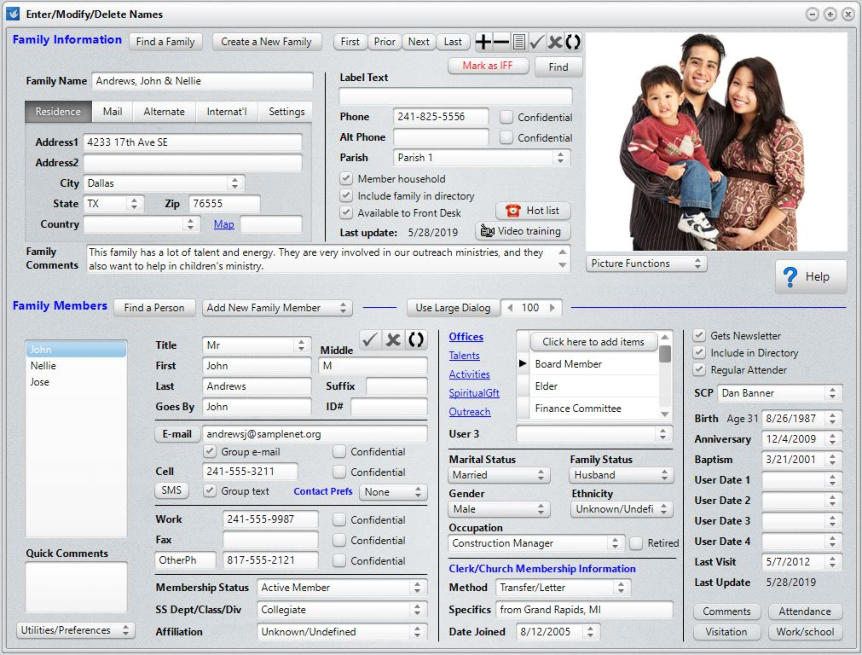
Print Names Pages
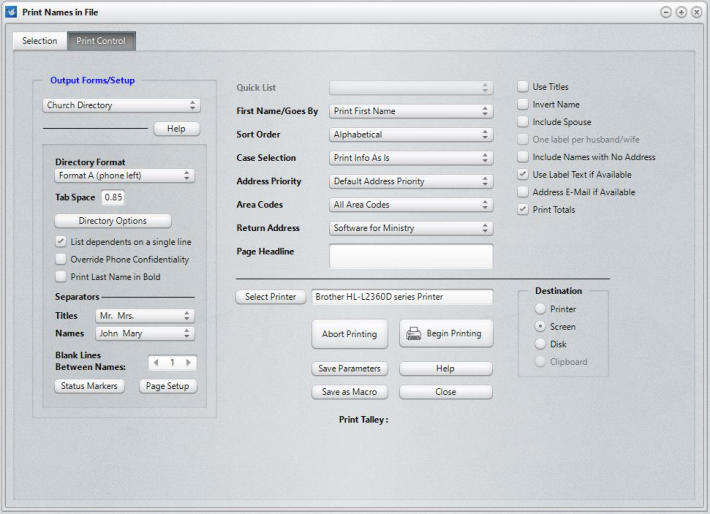
The first screen is the Selection Page, where you tell CMD who you want in your list/report. The second page, Print Control, tells CMD how you want the report to look and where you want to view it (printer, screen, disk). The final screen grab shows you the list of Output Forms, the various ways you can print the names you select.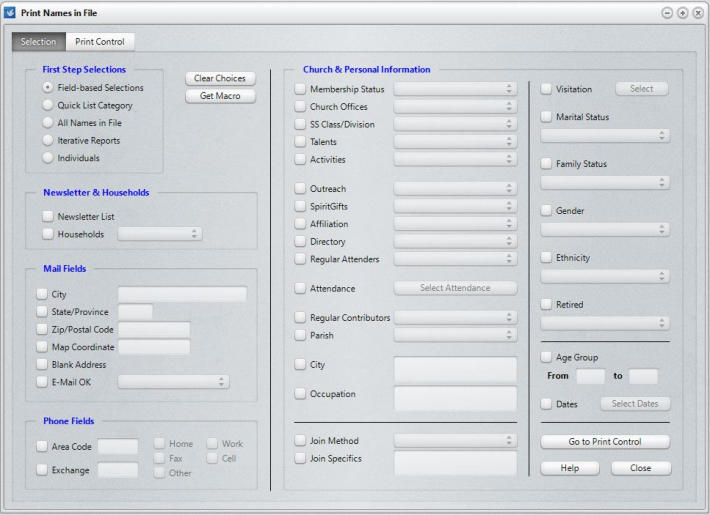
On the Selection page above, use your mouse to select any field or combination of fields as the basis for your list. Names that match your
selection criteria are included.
On the Print Control page below, you tell CMD what form you want the output to take, what sort order to use, what page headline to print
(if needed), how to display husband and wife, and where you’d like to view it.
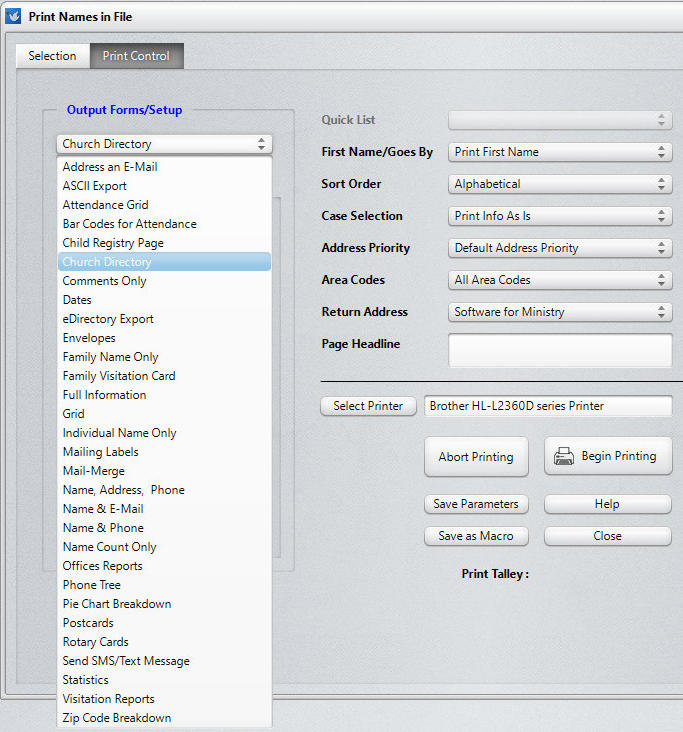
Below you can see the list of output forms that are available in which to display/print your names. If one of our forms
doesn’t work for you, you can select ASCII Export and send the data to a disk file that can then be imported into your
word processor, spreadsheet, or page layout program.
Attendance Dialog
Use this dialog to define the event, the date, and the list of names to view while marking attendance. It’s as easy as highlighting a name and pressing Enter.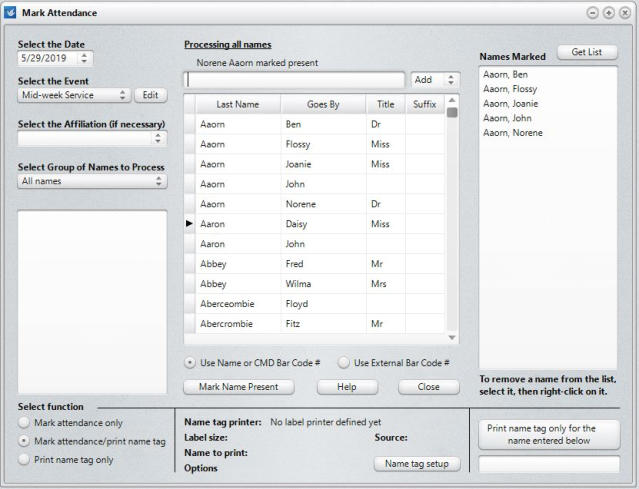
Visitation Tracking
You can enter visitation directly on the dialog pictured below, or you can use the phone/tablet apps to enter attendance information if you are using the hosted CMD system.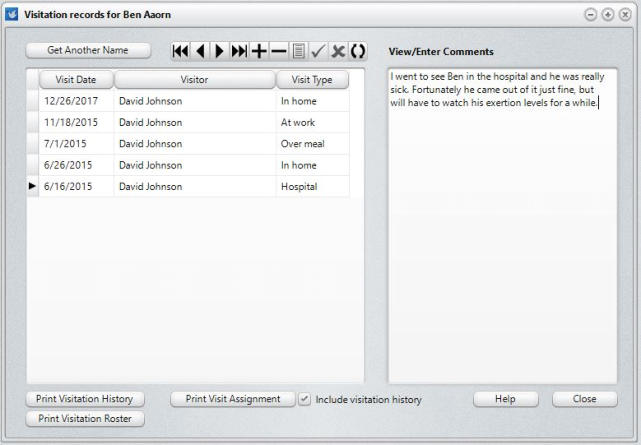
Child Check-In
Here’s the main check-in dialog. Note the Approved and Excluded lists, which are very important during the check-out procedure. Use this page to define the list of approved/excluded names, and enter any special needs the child has. There is space for an individual picture and a family picture.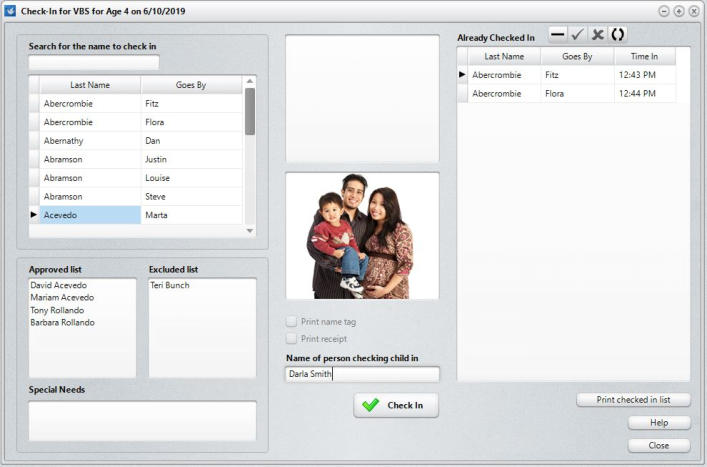


- hostedsubscriptions
- software
- singlecomputer
- downloads
- sdasupport
- training
- unsuccessfulpurchase
- updatepurchasepage
- cmddetails
- testimonials
- newfeaturesguide
- stayingconnected
- involvedleaders
- cmdscreenshots
- purchase
- fullyhostedoption
- cancellationpolicy
- thinclients
- cmdtabletinfo
- tabletattendance
- phoneattendance
- visitationapps
- phoneappinfo
- phonetabletinfo
- News
- FAQ
- Contact
- maucpastors