CMD FMX tracks background check information on the names in your CMD file. To enter background check information, select the Background Checks item on the Tools Menu.
When you first arrive, the dialog will look like this:
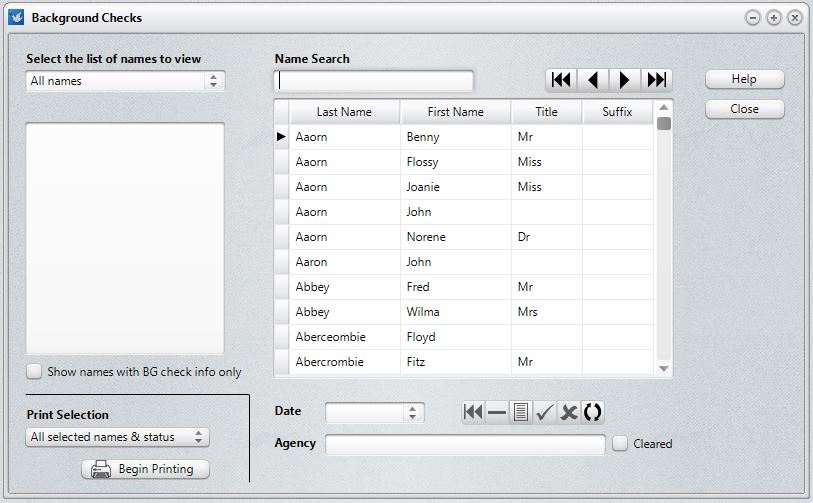
It starts off displaying every name in your file. Use the Name Search tools to locate any name in your file.
However, it might be easier to work with smaller groups than your entire list. To do this, drop-down the list in the upper left corner. You can select from among:
•All Names
•Church Offices
•Talents
•Activities
•SS Dept/Division
•User 1 (will likely be renamed in your data file)
•User 2 (will likely be renamed in your data file)
If you select anything other than All Names, you will see a list of options displayed underneath the drop-down box so that you can select a particular group of people from that field. Here's an example of Childrens Ministry having been selected from the Church Offices field:
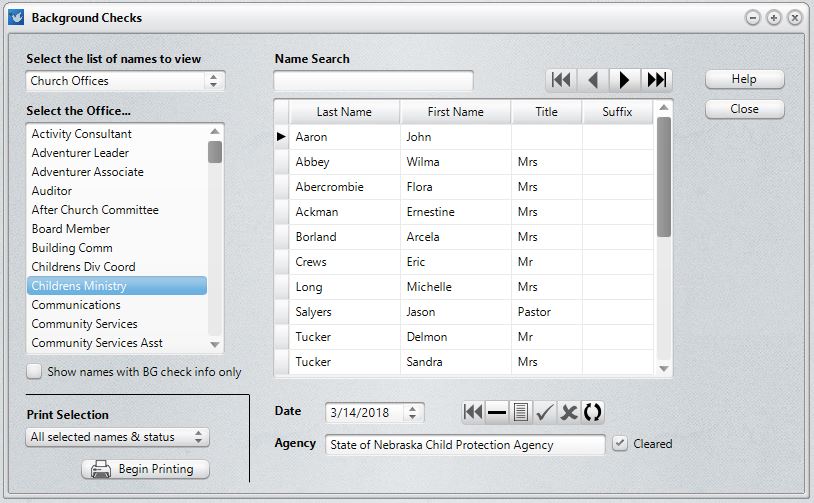
In this screen grab, you can see that John Aaron has had a background check on 3/14/2018 with a cleared status from the State of Nebraska Child Protection Agency.
Of course, you will need to keep the actual documents stating a name has been cleared in a paper file stored somewhere safely in your office. CMD keeps track of the date, the agency providing the check, and the status as to whether or not a name has received clearance. Use these fields to track the clearances for each of your names who have regular contact with children/youth.
The Date field can be used to store the date the person was cleared, or you can use it to store the expiration date of the clearance (if there is one).
To add background check information to any name, first find the name on the list, making sure the highlight marker is beside the last name you are searching for.
Once you have found the name, you can start typing in the blank fields provided. When you are finished entering the date, the agency, and cleared fields, click the check mark in the small navigation bar just above the Agency field, or simply find the next name in your file for whom you need to enter background check information and the information you just entered will automatically be saved.
Show Names with BG Check Info Only
This check box filters the currently selected list to only those for whom you already have background information entered.
Printing
You can print 4 different kinds of lists, which are all printed on the same form:
•All Selected Names & Status. The form displays the name, their cleared status, the agency providing the clearance, and the date.
•Cleared names. Same info printed as above, but only names who have been cleared will be included.
•Names who did not receive clearance. Same info printed as above, but only names who did not receive clearance will be included.
•Names with no background check information. This list displays only those names for whom you have no recorded background check information. This helps you more easily see who needs to be screened yet in a given group.
Note that the names that are printed are based on the names selected at the time. In the above example, only those names associated with the Childrens Ministry item would be included.